Content grouping in Google Analytics
In this article, we explain how to get content grouping in Google Analytics up and running. Then how to use the new grouping filters in the GA interface.

We’ve been solid users of Google Analytics for many, many years now. Each WordPress site that we roll out is configured to track statistics on this industry standard analytics platform. It’s no surprise, that in supporting our clients we have a stead stream of question about Google Analytics. One question that has been a regular lately is this: How to group content in my Google Analytics account. If this is of interest to you, then this little tutorial will get you started.
Let’s start with why you may want to do this.

In the default views of Google Analytics, if you look in the Behaviour section you can view statistics / usage of all the pages in your site. And this is where content grouping can start to be useful. Rather than looking at all the content together you can look at the content filtered by groups instead. This can be very useful for a WordPress site where you have a lot of URLs.
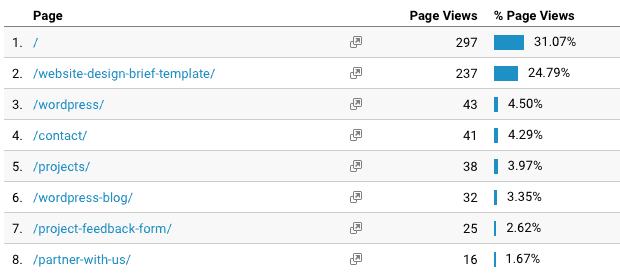
default view, showing all URLs
In the example above URLs across the site are displayed. Not helpful if you just want to compare content for your blog traffic.
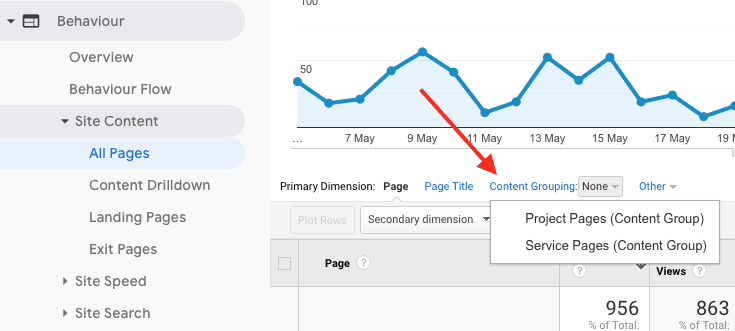
When you have your groups setup, in the same section you will see some extra controls. The screenshot here shows you two content groups that we have configured for our site. One for URLs that are from our portfolio and one for our service pages (ie what we do). Clicking on there here will allow you to filter the URLs that you’re seeing statistics for but just from that section.
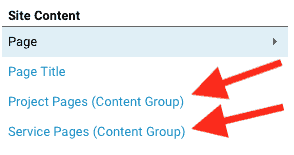
Once created the content groups will also show up in many other sections of the Google Analytics interface. Here the option to filter by content group can be seen in the Site Content section.
How to create a content group in Google Analytics
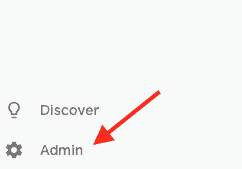
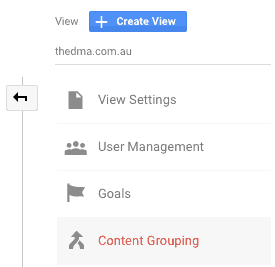
Here we look at how to get started. Begin by logging into your Google Analytics account and navigate to the Admin section. You should find it in the bottom left corner of the interface. Next click on Content Grouping – see below.
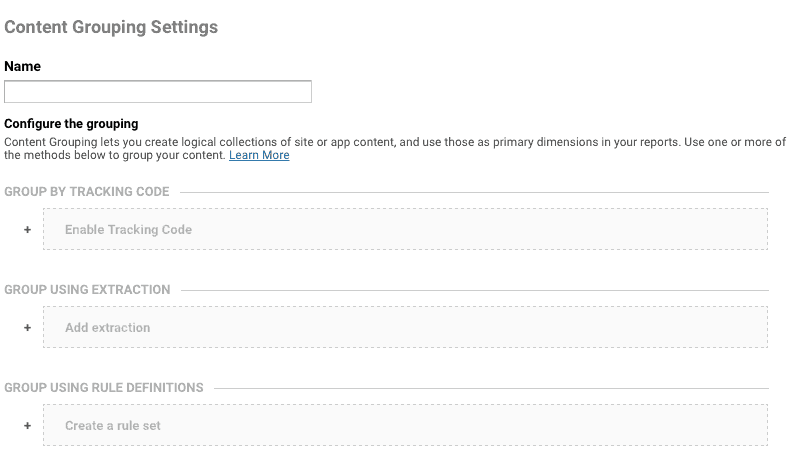
Next up you have a couple of options on how to make the content groups. If you’re a little technical you might like to review Google’s documentation to learn about doing this with Javascript or the Google Tag Manager. In this tutorial we’ll stick with rules. So, in short you can make rules based on the URLs of your website. Here’s an example. In our website all of the projects in our portfolio have URLs like this:
https://thedma.com.au/projects/parkes-elvis-festival/
https://thedma.com.au/projects/wordpress-multisite-football-nsw/
Each of them have this /projects/ , we can make a rule that says if it has this string in the URL then add it to the group. You have to have a look at your website and see how the URLs are structured. Then work out how to create rules to suit.
This part can be tricky, if you’re a DMA customer hit up our support team for some help.
You can repeat this process to create a number of URLs. If you have a WooCommerce store for example you might like to create a group for your project. Without too much effort it should be possible to group your content in a way that makes sense to you, and make the whole website statistics a bit more meaningful.
Reader Interactions